Check the download before choosing paper
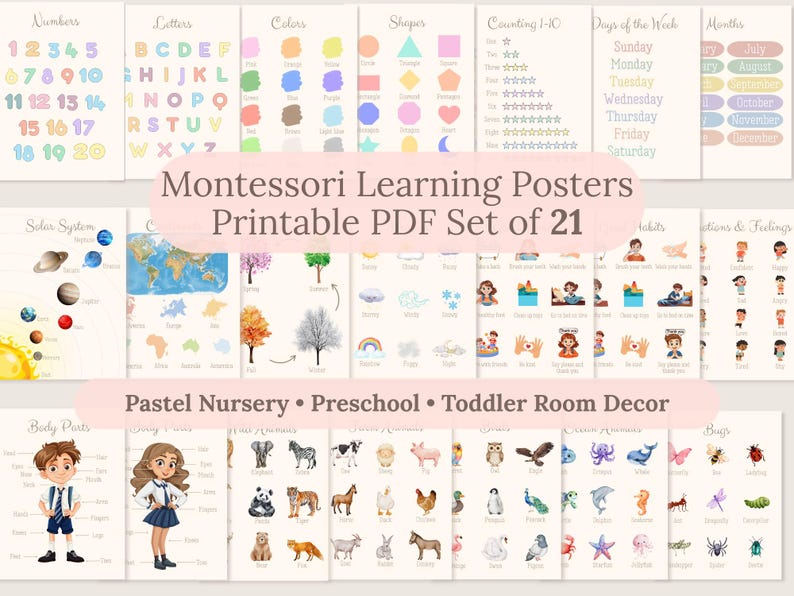
A crisp educational poster begins with the correct source file, not the most expensive printer. Download the files to a device where you can see their names and formats clearly. Read the included instructions and identify the designed page size, orientation, and number of posters. If several versions are supplied, choose the one matching your region or intended frame rather than printing the first thumbnail you see.
Open the file in a reliable PDF or image viewer and inspect one page at normal zoom. Confirm that text and illustrations are present and that the page is not password-protected or incomplete. Keep the original download untouched in a clearly labeled folder, then make a working copy if you need to add notes or reorganize pages. Review the personal-use license before sharing, modifying, or sending files to anyone else.
Match paper to how the poster will be used
Standard printer paper is useful for a quick proof because it shows scale and reveals margin problems without wasting heavier stock. For the final print, a heavier matte paper can reduce glare and feel more substantial, while a photo or coated paper may produce richer color but show reflections. Check the paper weight range supported by your printer before loading card stock, and select the corresponding media setting.
If the poster will go behind a frame, measure the visible opening rather than relying only on the frame’s advertised outer size. A white border may be intentional and can prevent important artwork from disappearing under the frame edge. For a rotating learning wall, consider placing prints in reusable display sleeves or frames instead of permanently attaching them. Keep display hardware and loose parts out of a child’s reach.
Use print settings that preserve the design
In the print dialog, select the correct paper size and orientation first. Use actual size or 100 percent when the file and paper match. Choose fit to printable area only when your printer cannot reach the designed margins, knowing that this may reduce the poster slightly. Avoid stretch-to-fill settings, which can distort letters and pictures. Print one test page before sending an entire educational poster bundle to the queue.
Select high or best quality for the final copy if the printer and paper support it, but remember that this uses more ink and takes longer. Turn off automatic double-sided printing unless the download is specifically designed for it. If colors appear unexpected, check ink levels, printer maintenance prompts, paper-side orientation, and any color mode noted by the seller before editing the file itself.
Know when a local or online print shop is easier
A print shop can be helpful for sizes your home printer cannot handle, multiple coordinated posters, or paper types you do not want to buy in a full pack. Bring or upload the original high-resolution file and state the intended finished size. Ask whether the shop prints at actual size, adds borders, or trims automatically. Request one proof when color or cropping is especially important.
Only send files in ways permitted by the product license, and tell the printer the artwork is for your personal order. Compare the full price, including trimming and delivery, rather than the per-page headline. An oversized print is not always more useful; text should be readable from the spot where the poster will hang, and the collection should leave enough visual space for a child to focus on one image at a time.
Trim, arrange, and use posters as conversation prompts
Let ink dry before trimming. Use a cutting mat, ruler, and appropriate cutter on a stable adult workspace, or ask the print shop to trim the pages. Adults should handle cutting tools. Arrange the posters on the floor first, photograph the layout, and then mount or frame them using hardware suited to the wall. Keep cords, glass, adhesive pieces, and hanging hardware safely away from children.
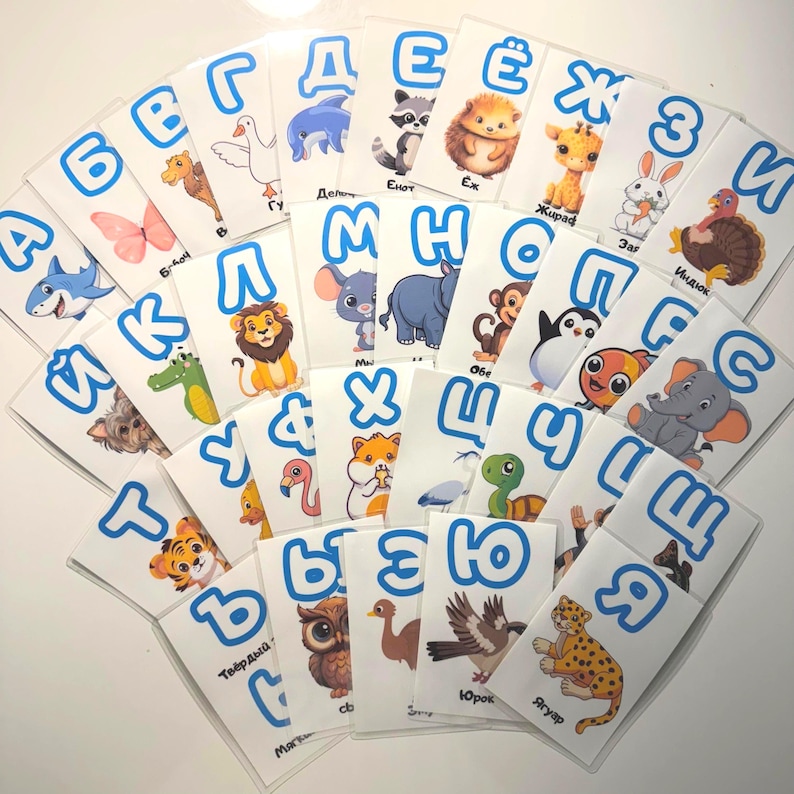
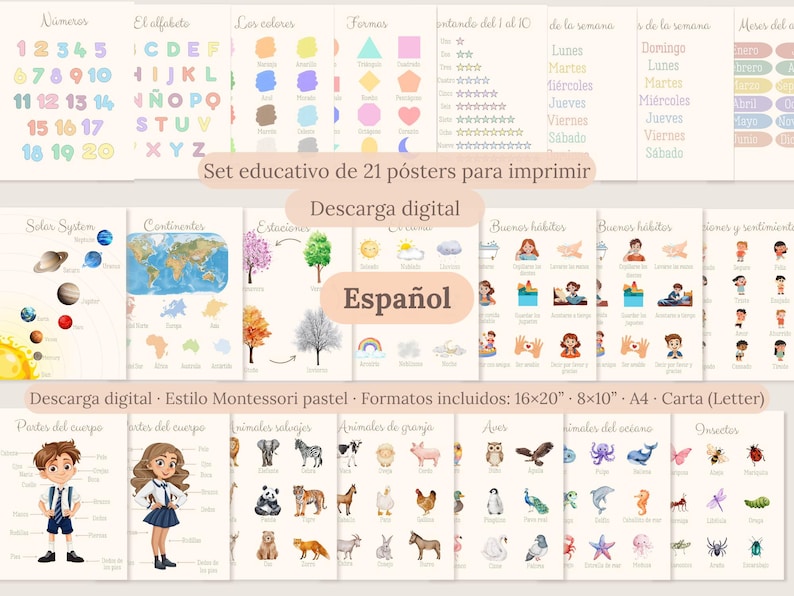
Once displayed, use one poster at a time for a quick search: find a color, point to a familiar object, or choose a picture that connects to a book. Spanish educational posters can support simple shared vocabulary moments, while physical Russian alphabet flashcards work well as movable complements to a fixed alphabet display. The Russian alphabet games guide offers eight ways to turn those laminated cards into short, repeatable activities.
Every child develops differently. Use age guidance, supervise activities and choose materials appropriate for your child and home.
Written and reviewed by the ThinkieInkies team behind these learning tools. Product details are available in the linked product listings; general learning ideas are provided for inspiration and should be adapted to each child with adult supervision.